Crown molding cut angles are crucial for ensuring seamless joints and professional-looking results. Whether you're a DIY enthusiast or a seasoned carpenter, mastering the art of cutting precise angles is essential. This guide will walk you through everything you need to know, from understanding the basics to executing flawless cuts. With the right tools, techniques, and a bit of practice, you'll be able to transform your space with beautifully installed crown molding. Crown molding is more than just a decorative element; it bridges the gap between walls and ceilings, adding depth and character to a room. However, cutting crown molding at the correct angles requires precision. Without the proper knowledge, you might end up with gaps, misaligned joints, or wasted material. Crown molding cut angles are particularly tricky because they often involve compound cuts, which combine both miter and bevel angles. But don't worry—this article will break down the process step-by-step, making it easy to understand and execute. By the end, you'll have the confidence to tackle even the most challenging projects. Before diving into the technical details, it's important to recognize that crown molding installation is a skill that improves with practice. Even professionals started as beginners, and with the right guidance, you can achieve professional-grade results. This article will cover everything from choosing the right tools to mastering advanced cutting techniques. Whether you're working on a small DIY project or a large-scale renovation, understanding crown molding cut angles is the key to success. Let’s explore how you can achieve flawless results with ease.
Table of Contents
- What Are Crown Molding Cut Angles and Why Do They Matter?
- What Tools Do You Need for Cutting Crown Molding Angles?
- How to Master Basic Crown Molding Cut Angles?
- Understanding Compound Cuts in Crown Molding
- What Are the Most Common Mistakes When Cutting Crown Molding Angles?
- Advanced Tips for Perfect Crown Molding Installation
- How to Fix Errors in Crown Molding Cut Angles?
- Frequently Asked Questions About Crown Molding Cut Angles
What Are Crown Molding Cut Angles and Why Do They Matter?
Crown molding cut angles are the specific angles at which you cut the ends of crown molding to ensure a seamless fit. These angles are crucial because they determine how well the pieces join together, especially in corners. Without precise cuts, the molding won’t align properly, leading to unsightly gaps and an unprofessional finish. Understanding crown molding cut angles is the foundation of successful installation, whether you're working with simple 90-degree corners or more complex angles. There are two primary types of cuts involved in crown molding: miter cuts and bevel cuts. Miter cuts are angled across the face of the molding, while bevel cuts are angled along the thickness of the material. When combined, these cuts form what is known as a compound cut, which is often necessary for crown molding due to its unique positioning at the intersection of walls and ceilings. Crown molding cut angles are typically measured based on the angle of the corner and the spring angle of the molding itself. To better understand the importance of crown molding cut angles, consider the following:
- Precision: Accurate angles ensure tight joints and a polished appearance.
- Material Efficiency: Proper cuts reduce waste and save money on materials.
- Professional Results: Well-executed angles make a significant difference in the overall look of a room.
What Tools Do You Need for Cutting Crown Molding Angles?
Cutting crown molding at the correct angles requires the right tools. Without them, even the most skilled DIYer can struggle to achieve professional results. Here’s a list of essential tools you’ll need to master crown molding cut angles:
Read also:Juco Baseball Rankings 2024 A Comprehensive Guide To The Top Teams
- Miter Saw: A miter saw is the cornerstone of any crown molding project. It allows you to make precise miter and bevel cuts, which are essential for achieving the correct crown molding cut angles.
- Coping Saw: For inside corners, a coping saw can be invaluable. It allows you to fine-tune cuts and ensure a perfect fit.
- Angle Finder: An angle finder helps you measure the exact angle of your corners, ensuring accuracy when setting your miter saw.
- Clamps: Clamps hold the molding securely in place while you make your cuts, reducing the risk of errors.
- Measuring Tape: Accurate measurements are critical for determining the length of each piece and ensuring proper alignment.
Investing in high-quality tools is worth every penny, as they can make the process smoother and more efficient. For example, a dual-bevel compound miter saw is particularly useful for crown molding cut angles because it allows you to make both miter and bevel cuts without repositioning the material. Additionally, using a laser guide can help you achieve even more precise cuts. Remember, the right tools not only improve accuracy but also save time and effort.
How to Master Basic Crown Molding Cut Angles?
Mastering basic crown molding cut angles is the first step toward achieving professional results. Start by understanding the difference between inside and outside corners. Inside corners typically require a 45-degree miter cut, while outside corners often need a 45-degree bevel cut. Crown molding cut angles are easier to manage when you break them down into these fundamental categories.
Step 1: Measure and Mark
Before making any cuts, measure the length of the wall and mark the molding accordingly. Use a pencil to indicate where the cuts need to be made. Double-check your measurements to avoid mistakes.
Step 2: Set the Miter Saw
Adjust your miter saw to the appropriate angle. For a standard 90-degree corner, set the saw to 45 degrees for miter cuts. If you're working with crown molding that has a spring angle, adjust the bevel accordingly. Crown molding cut angles often require a combination of both miter and bevel settings.
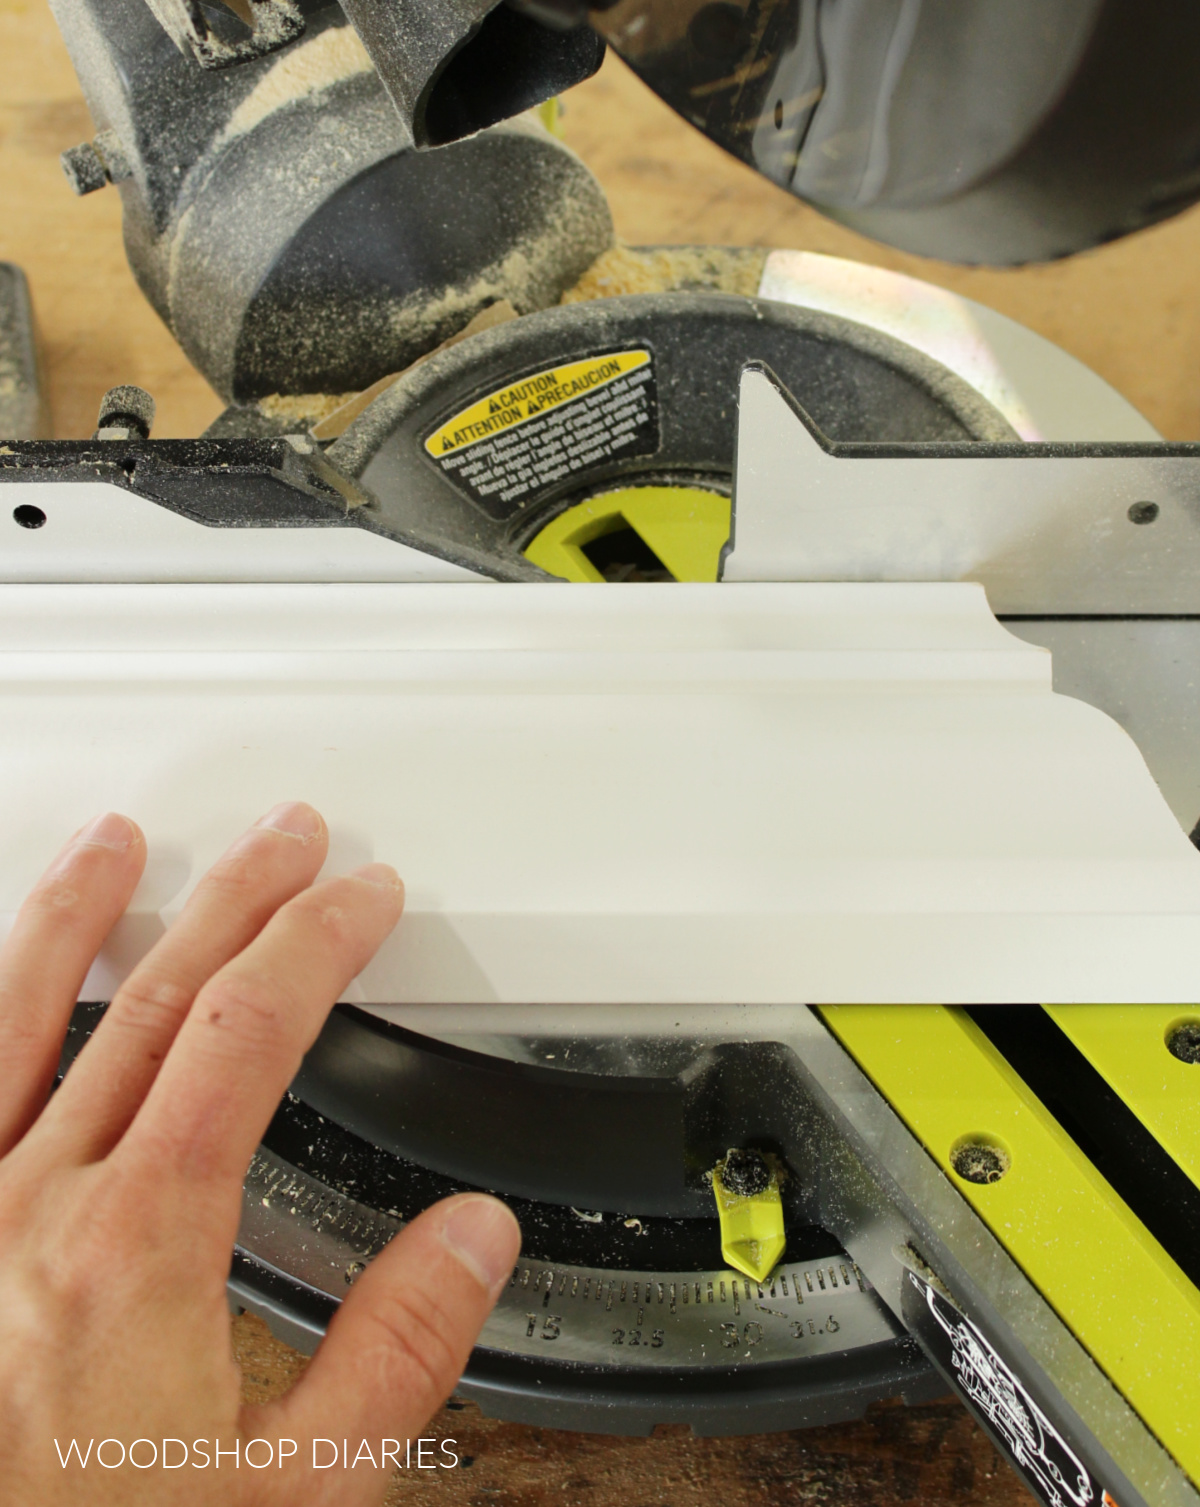
Step 3: Make the Cut
Secure the molding in place using clamps, then make the cut slowly and steadily. Always cut with the back of the molding flat against the saw’s fence to mimic its position on the wall and ceiling.
Understanding Compound Cuts in Crown Molding
Compound cuts are a key aspect of crown molding cut angles, especially when working with non-standard corners or varying ceiling heights. These cuts involve adjusting both the miter and bevel settings on your saw to achieve the desired angle. For example, a common crown molding cut angle for a 90-degree corner might require a 38-degree miter and a 30-degree bevel.
Read also:Audi Exchange Highland Park The Ultimate Guide To Luxury Car Shopping
Why Use Compound Cuts?
Compound cuts are essential for achieving a snug fit, particularly when the molding has a pronounced spring angle. They allow you to account for both the wall and ceiling angles simultaneously, ensuring a seamless transition. Crown molding cut angles that incorporate compound cuts often look more refined and professional.
How to Set Up Your Saw
To make a compound cut, start by setting the miter angle on your saw. Then, adjust the bevel angle to match the spring angle of your molding. Test the cut on a scrap piece of molding before proceeding with the actual installation.
What Are the Most Common Mistakes When Cutting Crown Molding Angles?
Even experienced DIYers can make mistakes when working with crown molding cut angles. Here are some common pitfalls to avoid:
- Incorrect Measurements: Failing to measure twice can lead to wasted material and poor fits.
- Wrong Saw Settings: Setting the miter or bevel angle incorrectly can result in misaligned joints.
- Improper Clamping: Not securing the molding properly can cause it to shift during cutting.
Advanced Tips for Perfect Crown Molding Installation
Once you’ve mastered the basics, you can take your crown molding cut angles to the next level with these advanced tips:
- Use a Coping Technique: Coping inside corners can provide a tighter fit than miter cuts alone.
- Practice on Scrap Pieces: Always test your cuts on scrap material before cutting the final piece.
- Invest in a Laser Guide: A laser guide can help you achieve even more precise cuts.
How to Fix Errors in Crown Molding Cut Angles?
Mistakes happen, but they don’t have to ruin your project. If you make an error in your crown molding cut angles, here’s how to fix it:
- Assess the Problem: Determine whether the issue is with the miter, bevel, or both.
- Recut the Piece: Make adjustments to your saw settings and recut the molding.
- Use Wood Filler: For minor gaps, wood filler can be used to create a seamless appearance.
Frequently Asked Questions About Crown Molding Cut Angles
What is the Best Way to Measure Crown Molding Cut Angles?
The best way to measure crown molding cut angles is by using an angle finder. This tool allows you to determine the exact angle of your corners, ensuring precise cuts.
Can I Use a Hand Saw for Crown Molding Cut Angles?
While it’s possible to use a hand saw, it’s not recommended for beginners. A miter saw provides greater accuracy and efficiency, especially for compound cuts.
How Do I Handle Uneven Walls When Cutting Crown Molding Angles?
For uneven walls, consider using flexible crown molding or shimming the gaps to achieve a snug fit. Coping techniques can also help address minor imperfections.
Conclusion
Crown molding cut angles are an essential aspect of achieving professional-looking results in any installation project. By understanding the basics, investing in the right tools, and practicing your technique, you can transform any room with beautifully installed crown molding. Whether you're a beginner or an experienced DIYer, this guide has provided you with the knowledge and confidence to tackle even the most challenging angles. So, grab your tools and get started—your dream space awaits!
For more detailed tutorials and expert tips, check out The Family Handyman, a trusted resource for DIY projects.