Have you ever wondered why your homemade bread sometimes turns out flat, dense, or overly airy? The secret often lies in the bread proofing temperature. This crucial step in the bread-making process determines how well your dough rises, affecting the texture, flavor, and overall quality of your baked goods. Whether you’re a novice baker or a seasoned pro, understanding and controlling proofing temperature can make all the difference in achieving consistent, professional-quality results.
Bread proofing is the process where dough ferments and rises due to the activity of yeast. During this stage, yeast feeds on sugars in the dough, producing carbon dioxide gas that causes the dough to expand. However, yeast is highly sensitive to temperature, and even slight variations can lead to under-proofed or over-proofed dough. This is why maintaining the ideal bread proofing temperature is essential for achieving the perfect rise. From soft sandwich loaves to crusty artisanal bread, mastering this step ensures your bread turns out just the way you want it.
In this article, we’ll dive deep into the science and art of bread proofing, exploring how temperature impacts the process and providing actionable tips to optimize your results. Whether you’re baking in a chilly kitchen or a warm environment, you’ll learn how to adapt and control proofing conditions to suit your needs. By the end, you’ll have a comprehensive understanding of bread proofing temperature and the tools to elevate your baking game.
Read also:Experience The Best Of The East Unforgettable Destinations In The Eastern Us
Table of Contents
- What is Bread Proofing and Why Does Temperature Matter?
- What is the Ideal Bread Proofing Temperature?
- Essential Tools for Controlling Bread Proofing Temperature
- Common Mistakes to Avoid When Proofing Bread
- How to Adjust Bread Proofing Temperature in Different Environments?
- What Are the Signs of Properly Proofed Dough?
- Advanced Tips for Perfect Bread Proofing
- Frequently Asked Questions About Bread Proofing Temperature
What is Bread Proofing and Why Does Temperature Matter?
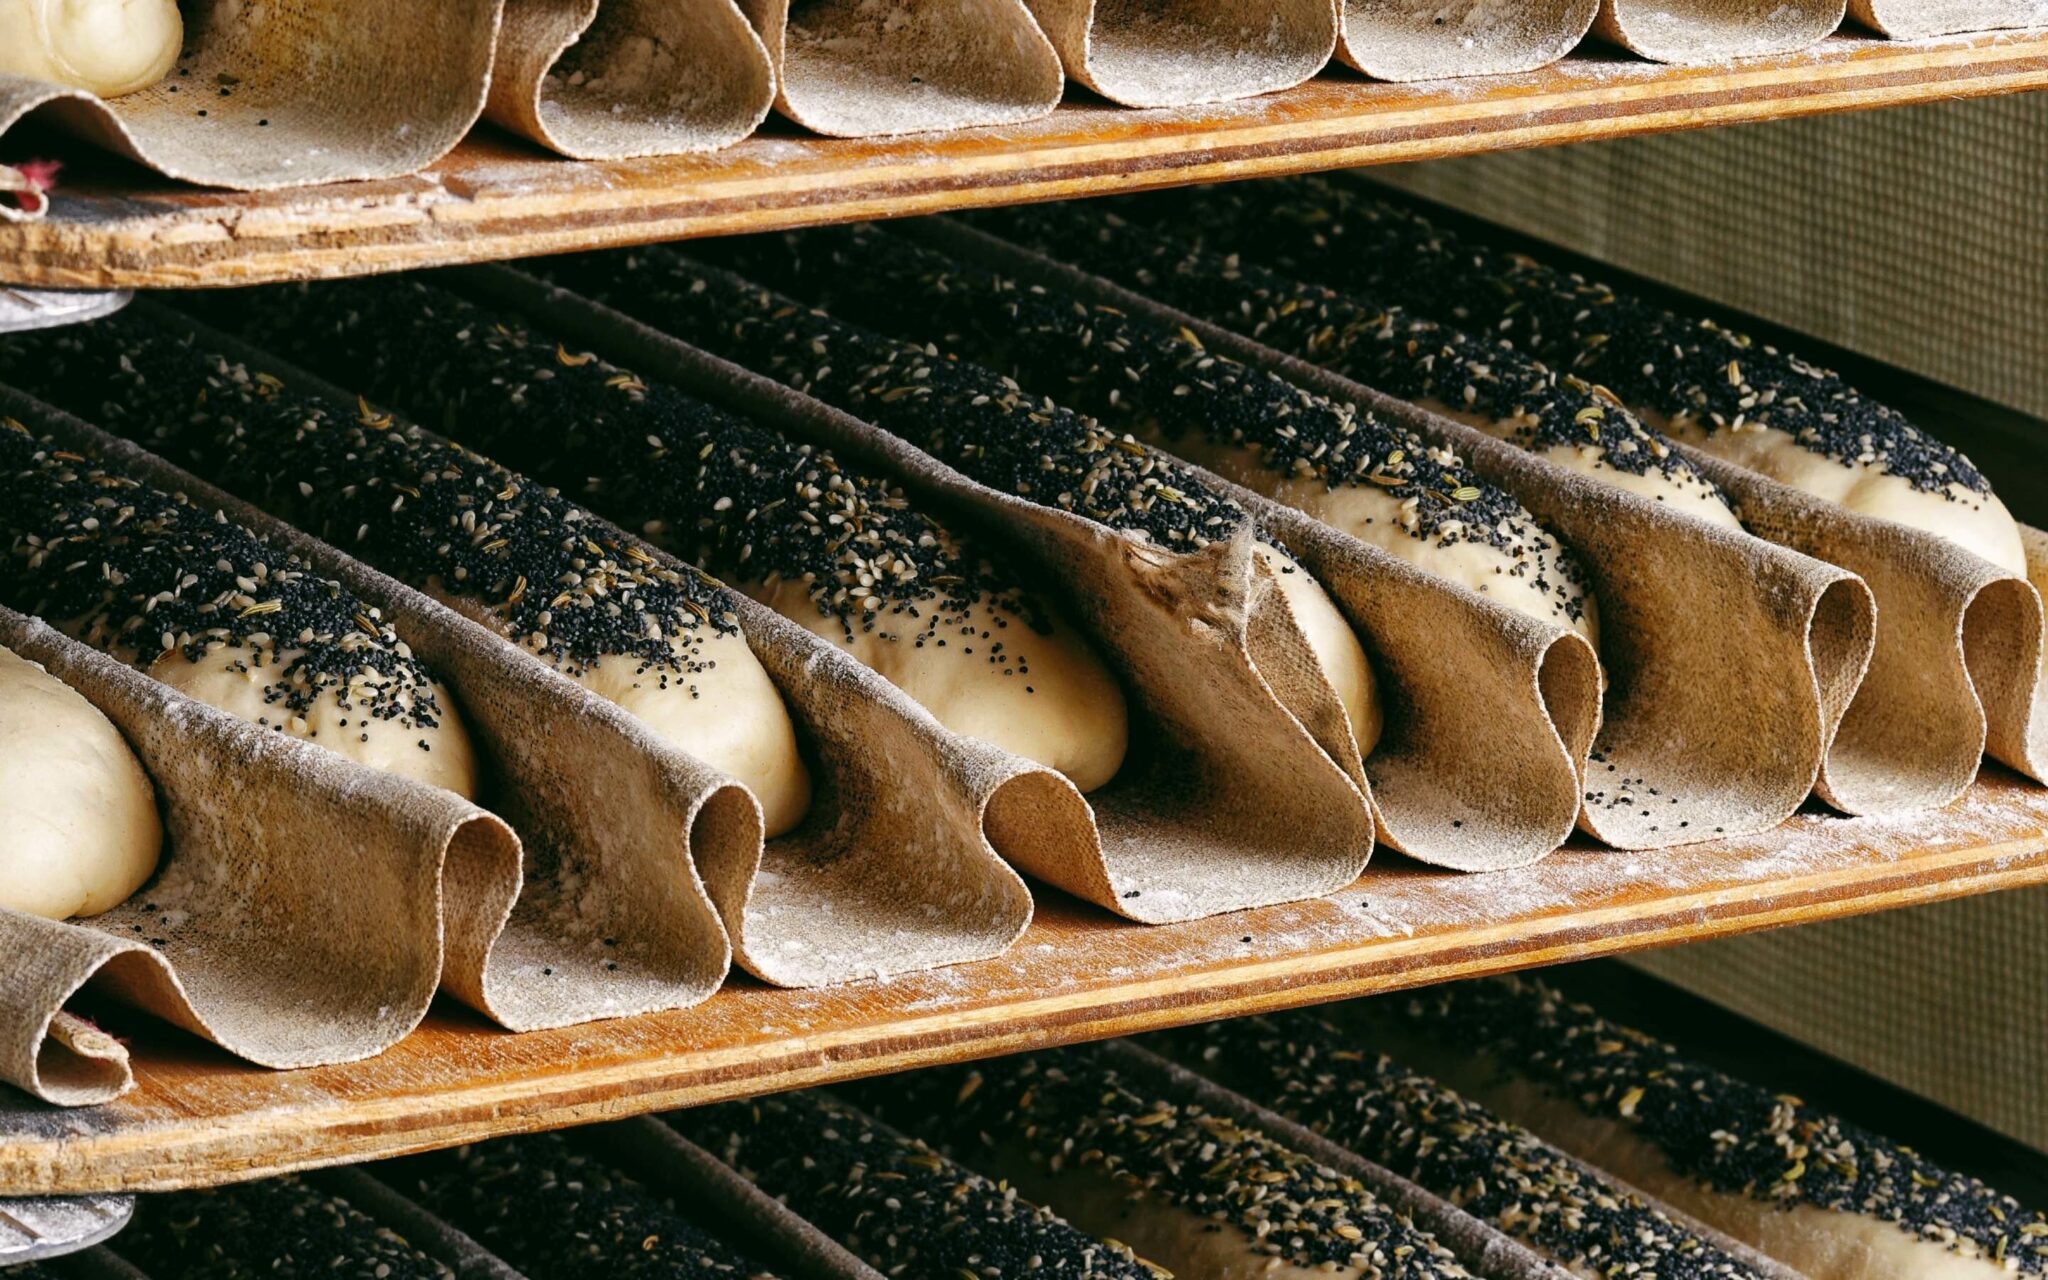
Bread proofing is a fascinating process that combines science and art. It’s the stage where dough transforms from a dense mixture into a light, airy structure ready for baking. This transformation is driven by yeast, a living organism that thrives in specific conditions. Temperature plays a pivotal role in this process because it directly affects yeast activity. If the bread proofing temperature is too low, yeast becomes sluggish, resulting in a slow rise and underdeveloped flavor. Conversely, if the temperature is too high, yeast can become overactive, leading to an overly rapid rise and potential collapse of the dough structure.
Understanding the relationship between temperature and yeast activity is crucial for achieving consistent results. Yeast performs optimally within a specific temperature range, typically between 75°F and 78°F (24°C to 26°C). At this range, the yeast ferments sugars at a steady pace, producing the right amount of carbon dioxide to create a well-risen loaf. Additionally, the proofing temperature influences the flavor profile of the bread. A slower rise at cooler temperatures allows for the development of complex flavors, while a faster rise at warmer temperatures may yield a milder taste.
Beyond yeast activity, temperature also impacts the dough’s elasticity and structure. Warmer temperatures can make the dough softer and more pliable, which might be beneficial for shaping. However, excessively warm conditions can cause the dough to become sticky and difficult to handle. On the other hand, cooler temperatures firm up the dough, making it easier to work with but potentially slowing down the proofing process. By mastering the balance of bread proofing temperature, you can control these variables and create bread that meets your desired texture and flavor.
What is the Ideal Bread Proofing Temperature?
Finding the ideal bread proofing temperature is key to achieving consistent and high-quality results. For most bread recipes, the optimal range is between 75°F and 78°F (24°C to 26°C). This temperature range strikes a balance between yeast activity and dough development, ensuring a steady rise without compromising flavor or structure. However, the ideal temperature can vary slightly depending on the type of bread you’re making and the specific characteristics you want to achieve.
How Does Warm Proofing Affect Dough?
Warm proofing, typically conducted at temperatures around 80°F to 90°F (27°C to 32°C), accelerates yeast activity and speeds up the fermentation process. This method is often used when you’re short on time or when making bread that benefits from a faster rise, such as sandwich loaves or soft rolls. Here are some effects of warm proofing:
- Increased yeast activity: Yeast ferments sugars more quickly, leading to a faster rise.
- Softer dough texture: The warmth makes the dough more pliable and easier to shape.
- Milder flavor: The rapid fermentation may not allow enough time for complex flavors to develop.
While warm proofing can save time, it requires careful monitoring to prevent over-proofing, which can result in a dense or collapsed loaf.
Read also:Exploring The Life And Family Of Stephen Blosil Siblings A Complete Guide
What Are the Benefits of Cold Proofing?
Cold proofing, also known as retarding, involves proofing dough at cooler temperatures, typically in the refrigerator at around 35°F to 40°F (2°C to 4°C). This method slows down yeast activity, allowing for a longer fermentation period. Cold proofing is especially popular for artisanal bread and sourdough recipes. Here are some advantages:
- Enhanced flavor: The extended fermentation time allows for the development of complex, nuanced flavors.
- Better dough structure: The slow rise strengthens the gluten network, resulting in a more open crumb.
- Convenience: Dough can be prepared ahead of time and baked when needed.
Cold proofing is ideal for bakers who want to balance flavor and convenience, though it requires patience due to the extended proofing time.
Essential Tools for Controlling Bread Proofing Temperature
Controlling bread proofing temperature can be challenging, especially if your kitchen environment fluctuates. Fortunately, there are several tools and techniques that can help you maintain the ideal conditions for proofing. These tools not only ensure consistency but also make the process easier and more reliable.
One of the most essential tools for regulating bread proofing temperature is a proofing box or proofing cabinet. These devices allow you to set and maintain a specific temperature, creating an ideal environment for dough fermentation. Proofing boxes are particularly useful for bakers who live in regions with extreme climates, where indoor temperatures may be too hot or too cold for optimal proofing. Alternatively, a simple DIY solution involves using an oven with the light turned on or placing the dough in a microwave with a bowl of warm water to create a warm, humid environment.
Another valuable tool is a digital thermometer with a probe. This allows you to monitor the temperature of your dough and its surroundings accurately. For cold proofing, a refrigerator thermometer can ensure your appliance maintains the correct temperature. Additionally, humidity plays a role in proofing, so using a spray bottle to mist the dough or covering it with a damp cloth can help maintain the necessary moisture levels. By investing in these tools, you can take the guesswork out of bread proofing and achieve consistent results every time.
Common Mistakes to Avoid When Proofing Bread
Even experienced bakers can encounter challenges during the bread proofing process. Understanding and avoiding common mistakes can help you achieve better results and prevent frustration. One frequent error is neglecting to monitor the bread proofing temperature, which can lead to inconsistent outcomes. Here are some pitfalls to watch out for:
- Over-proofing: Allowing dough to rise for too long can cause it to collapse or become overly airy. This often happens in warm environments where yeast activity is accelerated.
- Under-proofing: Insufficient proofing time results in dense, heavy bread. This is common in cold kitchens or when the dough is rushed.
- Inconsistent temperature: Fluctuating temperatures during proofing can lead to uneven fermentation and unpredictable results.
To avoid these mistakes, always keep an eye on your dough and the surrounding environment. Use tools like thermometers and proofing boxes to maintain control over the bread proofing temperature.
How to Adjust Bread Proofing Temperature in Different Environments?
Adapting to varying environmental conditions is crucial for successful bread proofing. Whether you’re baking in a warm summer kitchen or a chilly winter home, adjusting the bread proofing temperature can make all the difference. Here are some practical tips for managing proofing conditions in different environments:
- Warm environments: In hot climates or during summer, use a cooler room or basement to slow down proofing. Alternatively, reduce the dough’s temperature by using cold water or refrigerating it for a short period before proofing.
- Cold environments: In winter or cooler climates, create a warm space by using a proofing box, an oven with the light on, or placing the dough near a heat source like a radiator.
- Humidity control: Use a spray bottle to mist the dough or cover it with a damp cloth to maintain moisture levels, especially in dry environments.
By tailoring your approach to the specific conditions of your kitchen, you can ensure consistent results regardless of the season or location.
What Are the Signs of Properly Proofed Dough?
Knowing when your dough is perfectly proofed is essential for achieving the best results. Over-proofing or under-proofing can ruin your bread, so it’s important to recognize the signs of properly proofed dough. Here are some indicators to look for:
- Visual cues: The dough should double in size and appear puffy and light.
- Finger test: Gently press your finger into the dough. If the indentation springs back slowly and partially, the dough is ready. If it springs back quickly, it needs more time. If it doesn’t spring back at all, it may be over-proofed.
- Smell: Properly proofed dough often has a slightly tangy, yeasty aroma.
By paying attention to these signs, you can ensure your bread proofing temperature and time are aligned for optimal results.
Advanced Tips for Perfect Bread Proofing
For bakers looking to take their skills to the next level, mastering advanced techniques can elevate your bread-making game. One such technique is using a temperature-controlled water bath to maintain consistent bread proofing temperature. This involves placing your dough in a container surrounded by water heated to the desired temperature, ensuring a stable environment throughout the proofing process.
Another advanced tip is experimenting with hybrid proofing methods. For example, you can combine warm and cold proofing by allowing the dough to rise at room temperature for a short period before transferring it to the refrigerator. This approach balances flavor development with convenience, making it ideal for busy bakers. Additionally, using a sourdough starter or preferment can enhance the complexity of your bread, especially when paired with careful temperature control.
Frequently Asked Questions About Bread Proofing Temperature
1. What happens if bread proofing temperature is too high?
If the temperature is too high, yeast activity accelerates, leading to an overly rapid rise. This can cause the dough to collapse or develop an off flavor.
2. Can I proof bread at room temperature?
Yes, but room temperature varies. Ensure it falls within the ideal range of 75°F to 78°F (24°C to 26°C) for best results.
3. How long should dough proof in the refrigerator?
Cold proofing typically takes 8 to 12 hours, depending on the recipe and desired flavor development.
In conclusion, mastering bread proofing temperature is a game-changer for any