This cloud-based platform allows users to write, compile, and upload code to Arduino boards directly from their web browser. Whether you're a beginner or an experienced developer, the Arduino Web Editor provides a seamless and efficient way to bring your ideas to life. With its user-friendly interface and powerful features, it has become an indispensable tool for Arduino enthusiasts worldwide. In this article, we’ll explore the ins and outs of the Arduino Web Editor, helping you make the most of this innovative platform. The Arduino Web Editor eliminates the need for local installations, making it accessible from any device with an internet connection. It supports a wide range of Arduino boards, enabling users to work on their projects from virtually anywhere. The platform also integrates with Arduino Create, offering additional tools like project management, sharing capabilities, and access to a vast library of code examples. As we dive deeper into this guide, you’ll discover how to set up the Arduino Web Editor, use its features effectively, and troubleshoot common issues. By the end, you’ll have the knowledge and confidence to harness the full potential of this tool. In today’s fast-paced world, efficiency is key, and the Arduino Web Editor delivers just that. Whether you’re prototyping a new IoT device, teaching coding to students, or working on a personal hobby project, the Arduino Web Editor simplifies the development process. Its cloud-based nature ensures that your projects are always backed up and accessible, reducing the risk of data loss. Let’s explore how this platform can revolutionize your Arduino experience and empower you to create smarter, faster, and more efficiently.
Table of Contents
- What is Arduino Web Editor?
- How to Set Up Arduino Web Editor?
- Features of Arduino Web Editor
- Can Arduino Web Editor Replace Desktop IDE?
- How to Use Arduino Web Editor Effectively?
- Troubleshooting Common Issues
- What Are the Benefits of Cloud-Based Coding?
- FAQs About Arduino Web Editor
What is Arduino Web Editor?
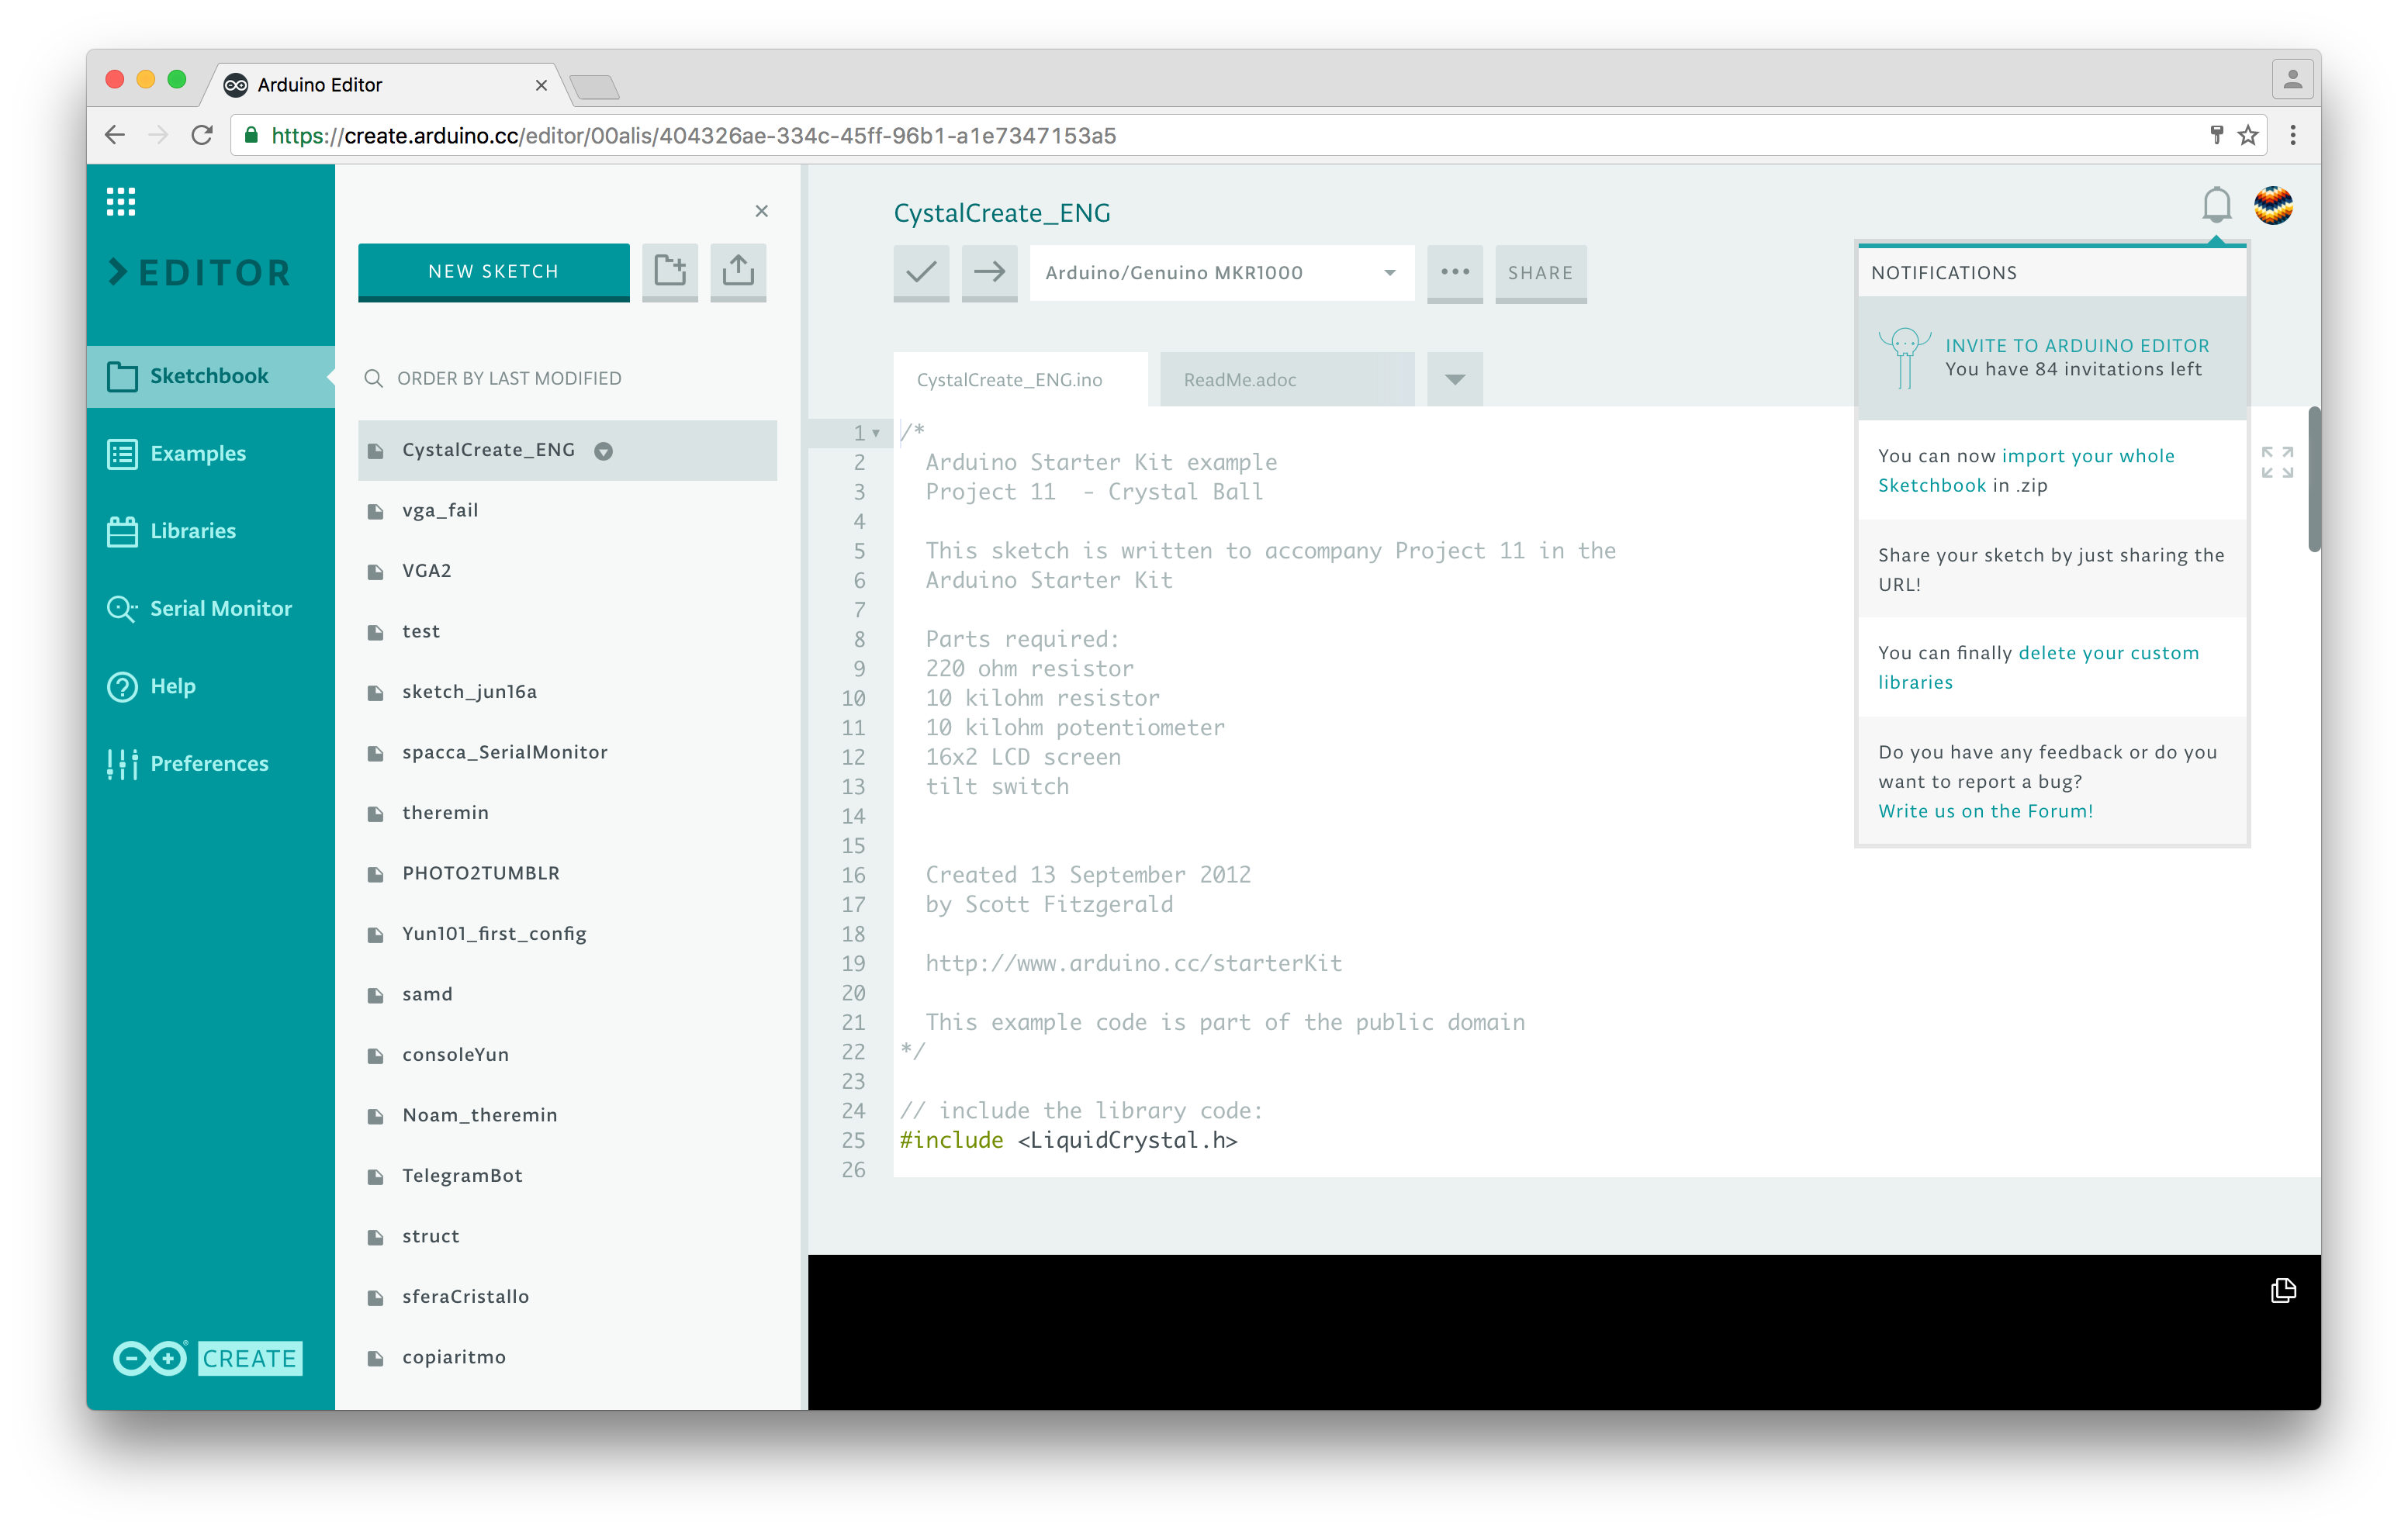
The Arduino Web Editor is a browser-based integrated development environment (IDE) designed to simplify the coding process for Arduino boards. It provides users with a platform to write, compile, and upload code without the need for local software installation. This makes it an ideal choice for beginners, educators, and professionals who need flexibility and accessibility in their workflow. By leveraging cloud technology, the Arduino Web Editor ensures that your projects are always synced and accessible from any device with an internet connection.
One of the standout features of the Arduino Web Editor is its integration with Arduino Create, a comprehensive ecosystem for managing and sharing projects. This integration allows users to collaborate with others, access pre-built code libraries, and organize their work efficiently. The platform supports a wide range of Arduino boards, including popular models like the Arduino Uno, Mega, and Nano. Additionally, the Arduino Web Editor offers real-time error checking and debugging tools, helping users identify and resolve issues quickly.
Read also:Perfecting Sugar Cookie Glaze Tips Techniques And Recipes For Every Baker
For those new to Arduino, the Arduino Web Editor serves as an excellent starting point. Its intuitive interface and extensive documentation make it easy to learn the basics of coding and electronics. Whether you’re building a simple LED blink project or a complex IoT device, the Arduino Web Editor provides the tools you need to succeed. By eliminating the barriers of local software installation and configuration, it empowers users to focus on creativity and innovation.
How to Set Up Arduino Web Editor?
Setting up the Arduino Web Editor is a straightforward process that requires minimal technical expertise. To get started, you’ll need to create an account on the Arduino website. Simply navigate to the official Arduino website, click on the “Sign Up” button, and follow the instructions to register. Once your account is created, log in and navigate to the Arduino Web Editor section. Here, you’ll find a clean and intuitive interface ready for you to start coding.
Step 1: Install the Arduino Plugin
Before you can upload code to your Arduino board, you’ll need to install the Arduino Plugin. This plugin acts as a bridge between your browser and the Arduino board, enabling communication and data transfer. To install the plugin, connect your Arduino board to your computer via USB and follow the on-screen instructions provided by the Arduino Web Editor. The plugin is compatible with most operating systems, including Windows, macOS, and Linux, ensuring a seamless setup process.
Step 2: Select Your Board
Once the plugin is installed, the next step is to select your Arduino board from the list of supported devices. The Arduino Web Editor supports a wide range of boards, including the Uno, Mega, Nano, and more. Simply click on the “Select Board” option and choose your device from the dropdown menu. This step ensures that the code you write is compatible with your specific board and its capabilities.
Step 3: Start Coding
With your board selected, you’re ready to start coding. The Arduino Web Editor provides a simple text editor where you can write your code. For beginners, the platform offers a variety of example projects to help you get started. These examples cover a wide range of applications, from basic LED blinking to advanced IoT projects. As you write your code, the editor provides real-time error checking, helping you identify and fix issues before uploading.
Features of Arduino Web Editor
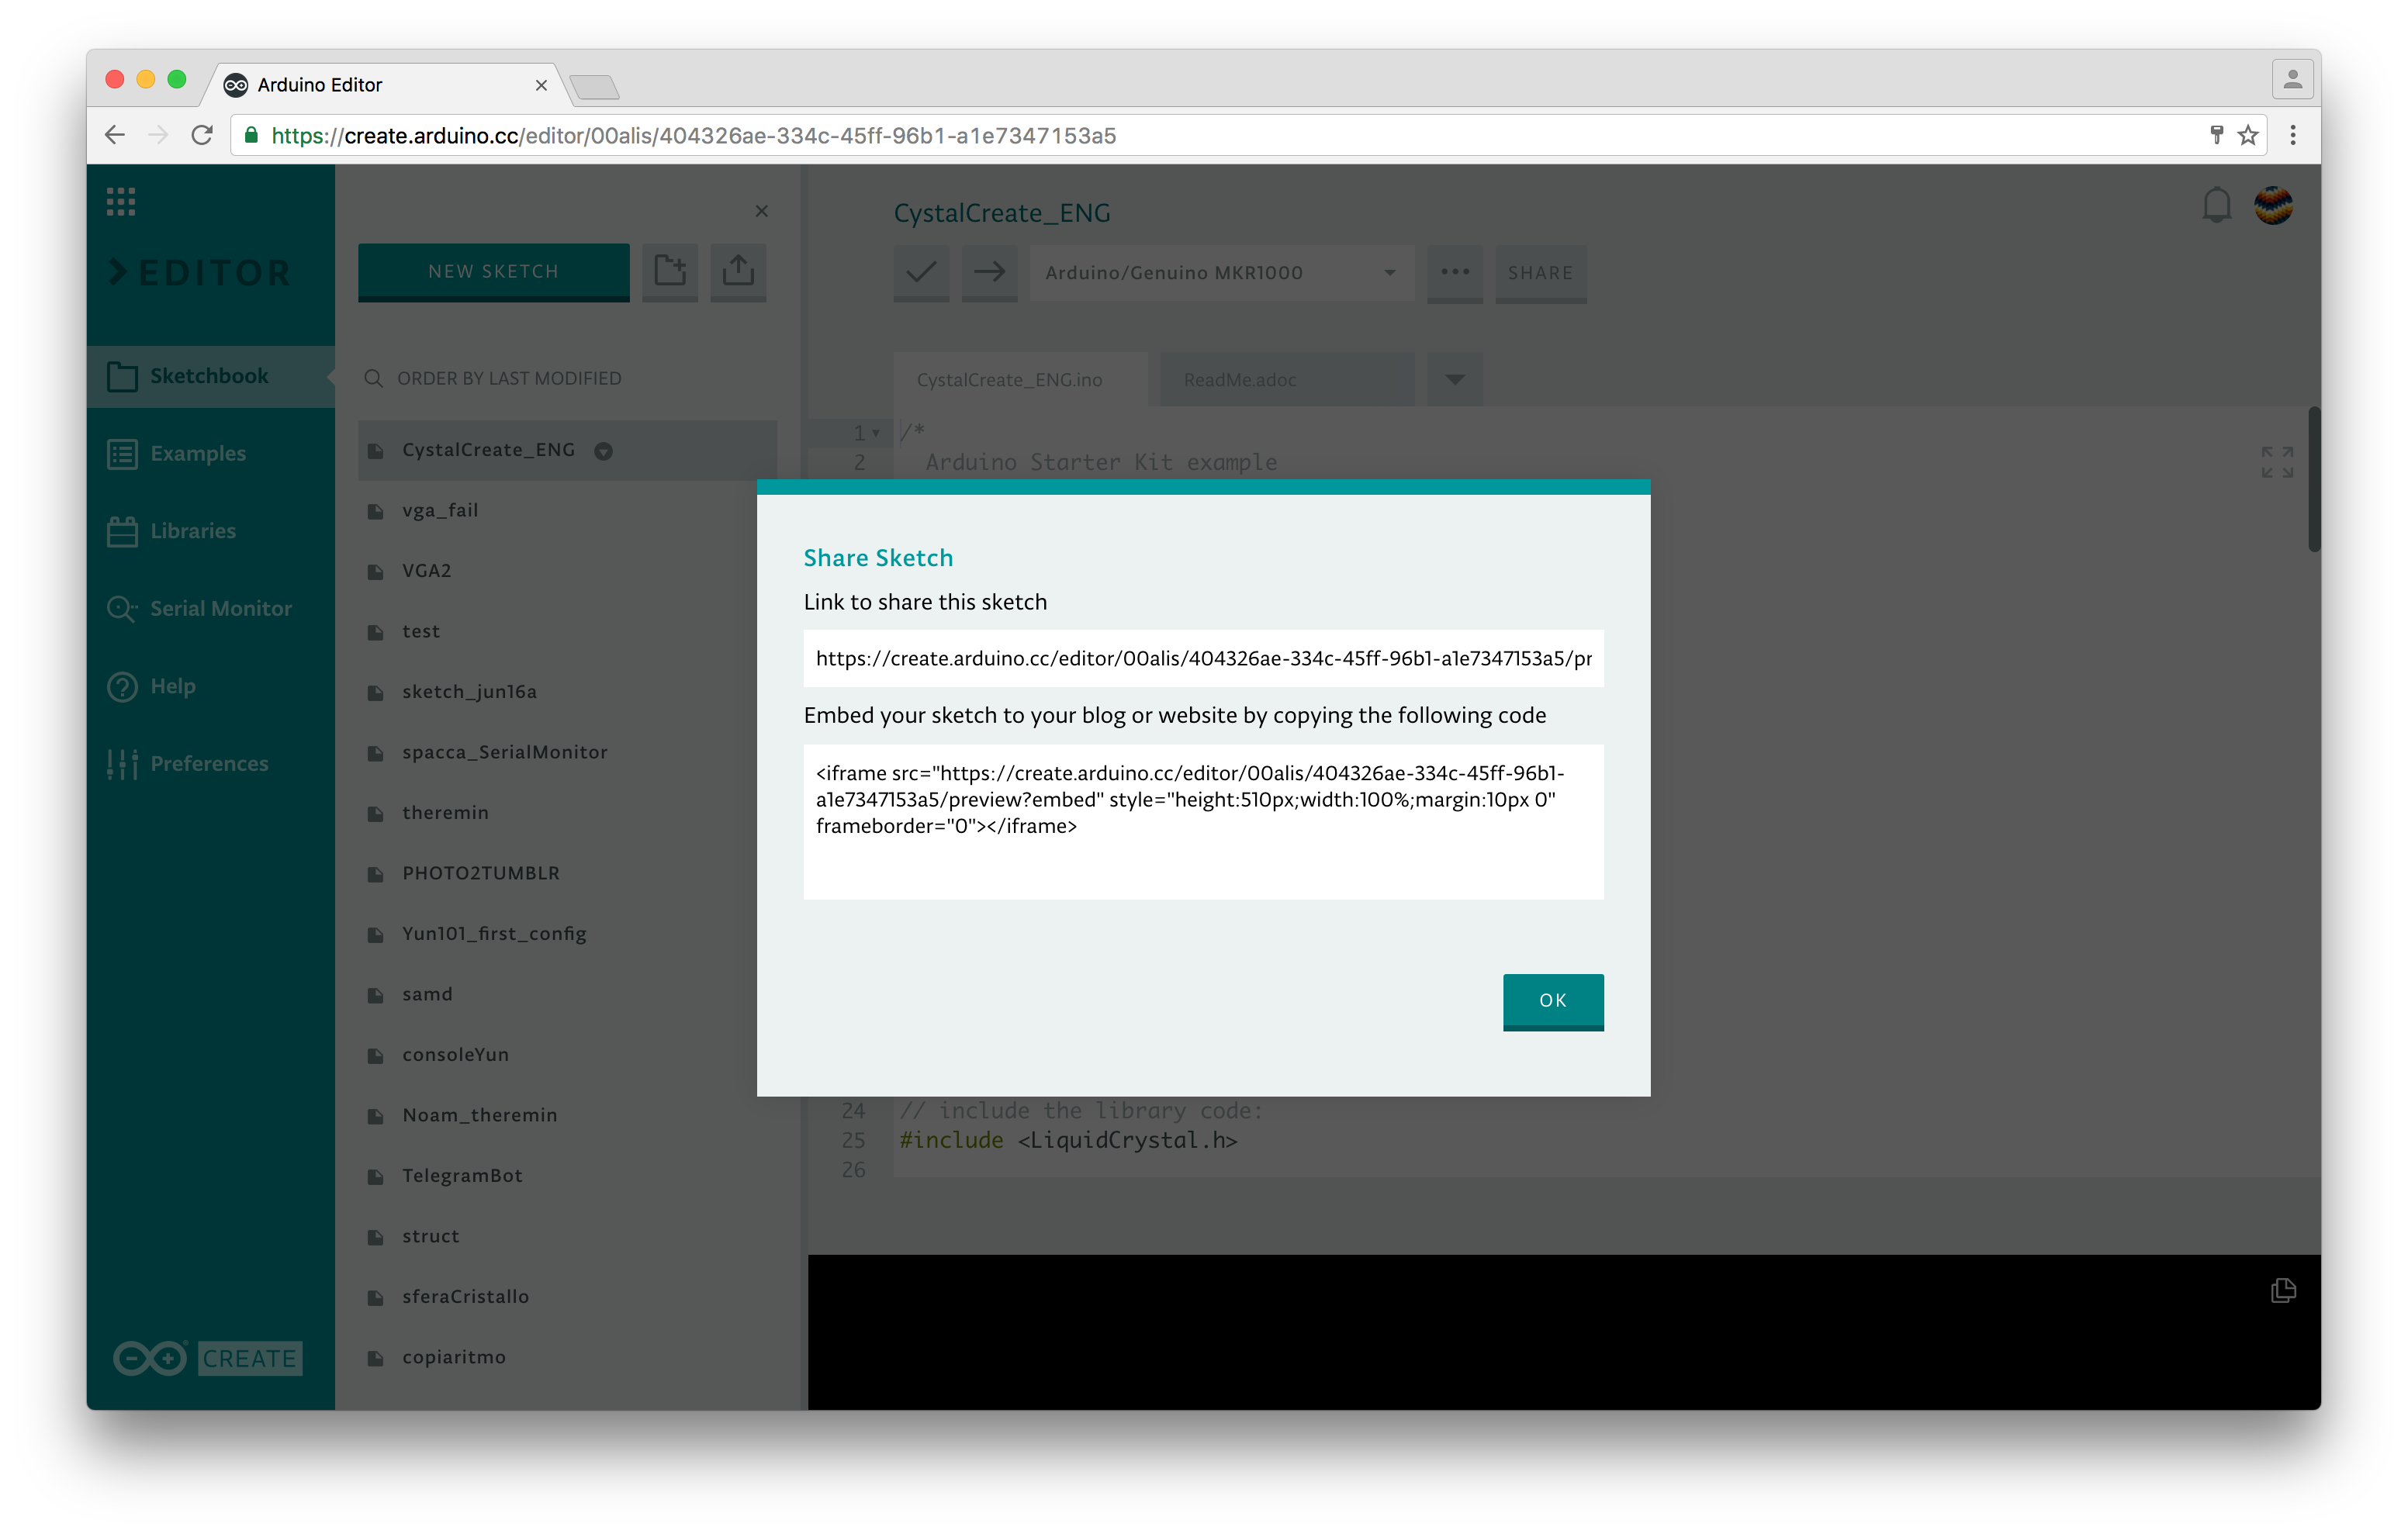
The Arduino Web Editor is packed with features that make it a powerful tool for developers and hobbyists alike. One of its most notable features is its cloud-based nature, which allows users to access their projects from any device with an internet connection. This ensures that your work is always backed up and available, reducing the risk of data loss. Additionally, the platform supports collaboration, enabling users to share their projects with others and work together in real-time.
Read also:Exploring Hdhub Bollywood Movies Download A Comprehensive Guide
Code Libraries and Examples
The Arduino Web Editor provides access to a vast library of pre-built code examples and libraries. These resources are invaluable for beginners who are just starting to learn Arduino programming. From controlling motors to reading sensor data, the examples cover a wide range of applications. By leveraging these resources, users can accelerate their learning process and bring their ideas to life more quickly.
Real-Time Debugging
Debugging is an essential part of the development process, and the Arduino Web Editor excels in this area. The platform offers real-time error checking and debugging tools, helping users identify and resolve issues quickly. Whether you’re dealing with syntax errors or hardware compatibility issues, the Arduino Web Editor provides the tools you need to troubleshoot effectively.
Can Arduino Web Editor Replace Desktop IDE?
With its impressive features and ease of use, many users wonder if the Arduino Web Editor can fully replace the traditional desktop IDE. While the Arduino Web Editor offers numerous advantages, such as cloud accessibility and collaboration tools, there are still scenarios where the desktop IDE might be preferred. For instance, users working on large-scale projects with complex dependencies may find the desktop IDE more suitable due to its offline capabilities and advanced features.
Advantages of Arduino Web Editor
- Cloud-based access ensures projects are always backed up and available.
- Real-time collaboration tools enable team-based projects.
- No need for local software installation, making it beginner-friendly.
Limitations of Arduino Web Editor
- Requires a stable internet connection to function effectively.
- May lack some advanced features available in the desktop IDE.
- Performance may vary depending on the browser and device used.
How to Use Arduino Web Editor Effectively?
To get the most out of the Arduino Web Editor, it’s important to adopt best practices and strategies that enhance your workflow. One effective approach is to organize your projects into folders and use descriptive names for your files. This makes it easier to locate and manage your work, especially as your project library grows. Additionally, take advantage of the platform’s collaboration tools to share your projects with others and gather feedback.
Utilize Code Libraries
The Arduino Web Editor provides access to a vast library of pre-built code examples and libraries. These resources can save you time and effort by providing ready-to-use solutions for common tasks. Whether you’re working on a sensor-based project or building an IoT device, these libraries can help you accelerate your development process.
Leverage Real-Time Debugging
Debugging is a critical part of the development process, and the Arduino Web Editor offers powerful tools to help you identify and resolve issues. Use the real-time error checking feature to catch syntax errors and other issues as you write your code. Additionally, take advantage of the platform’s debugging tools to test your hardware and ensure everything is functioning as expected.
Troubleshooting Common Issues
While the Arduino Web Editor is designed to be user-friendly, users may encounter occasional issues. One common problem is connectivity errors, which can occur if the Arduino Plugin is not installed correctly or if there’s an issue with your internet connection. To resolve this, ensure that the plugin is installed and that your internet connection is stable. Additionally, try restarting your browser or switching to a different browser to see if the issue persists.
Uploading Code to the Board
Another common issue is difficulty uploading code to the Arduino board. This can happen if the board is not selected correctly or if there’s a problem with the USB connection. To troubleshoot, double-check that the correct board is selected in the Arduino Web Editor and ensure that the USB cable is securely connected. If the issue persists, try restarting your computer or reinstalling the Arduino Plugin.
Debugging Hardware Issues
Hardware issues can also arise, especially when working with sensors or other external components. To troubleshoot, ensure that all connections are secure and that the components are functioning correctly. Use the Arduino Web Editor’s debugging tools to test your hardware and identify any issues. If necessary, consult the platform’s documentation or seek help from the Arduino community.
What Are the Benefits of Cloud-Based Coding?
Cloud-based coding platforms like the Arduino Web Editor offer numerous benefits that make them an attractive choice for developers and hobbyists. One of the most significant advantages is accessibility. With cloud-based tools, you can access your projects from any device with an internet connection, making it easy to work on the go. This is particularly useful for educators and students who need flexibility in their workflow.
Collaboration and Sharing
Another key benefit of cloud-based coding is the ability to collaborate with others. The Arduino Web Editor allows users to share their projects with team members or the broader Arduino community. This fosters collaboration and enables users to learn from one another. Additionally, cloud-based platforms often include version control features, ensuring that changes are tracked and can be reverted if necessary.
Automatic Backups
Cloud-based platforms also provide automatic backups, reducing the risk of data loss. This is especially important for large-scale projects where losing work could be costly. By storing your projects in the cloud, you can rest assured that your work is always safe and accessible, even if your local device experiences issues.
FAQs About Arduino Web Editor
Is the Arduino Web Editor Free to Use?
Yes, the Arduino Web Editor is free to use for basic features. However, some advanced features may require a subscription to Arduino Create, the platform’s premium service.
Can I Use the Arduino Web Editor Offline?
No, the Arduino Web Editor requires an internet connection to function. However, you can download your projects and work on them locally using the desktop IDE if needed.
What Browsers Are Compatible with Arduino Web Editor?
The Arduino Web Editor is compatible with most modern browsers, including Google Chrome, Mozilla Firefox, and Microsoft Edge. For the best experience, ensure that your browser is up to date.
Conclusion
The Arduino Web Editor is a powerful and versatile tool that simplifies the process of coding and managing Arduino projects. Its cloud-based nature, user-friendly interface, and robust features make it an ideal choice for beginners and experienced developers alike. By leveraging this platform, you can streamline your workflow, collaborate with others, and bring your ideas to life more efficiently. Whether you’re working on a personal hobby project or a professional application, the Arduino Web Editor provides the tools you need to succeed.
External Link
For more information about the Arduino Web Editor, visit the